How does it work?
If you have registered with QR-Help, you will receive a unique identification number, the so-called client number. You can log in to QR-Help using this number and your previously set password. After successfully logging in, you will be redirected to your personal user-area. Here you will find various categories in which you can set some settings and enter data.
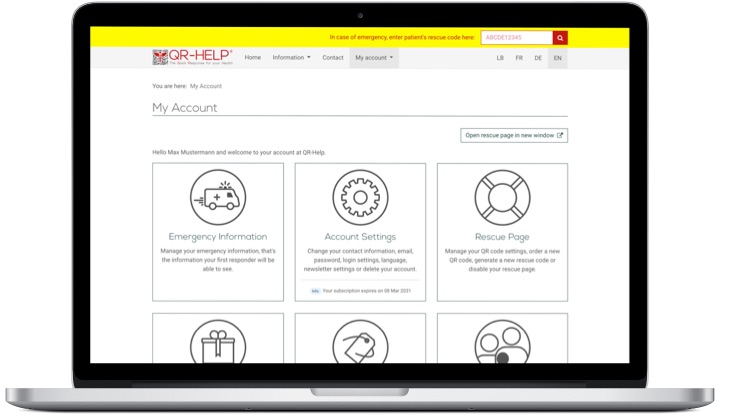
Let's have a look at the most important site of the project: the emergency information page.
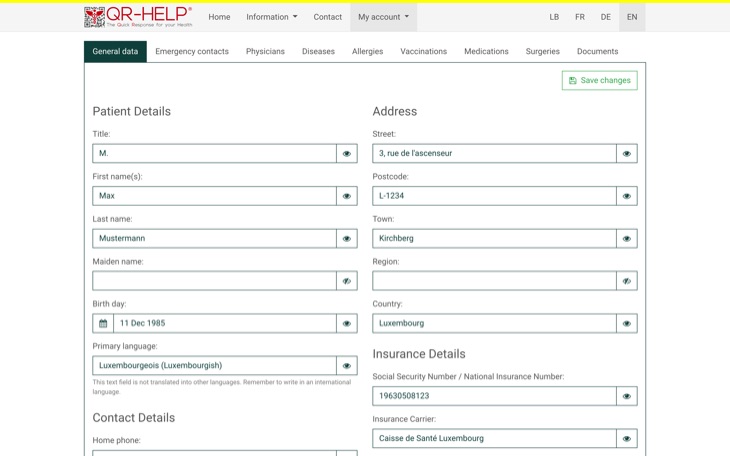
On this page, you enter all the data that could be relevant in the event of an emergency. We sorted the input fields according to different topics. The preselected topic is the general data about yourself. Here you can, for example, deposit your contact and health insurance data and choose whether you are an organ donor.
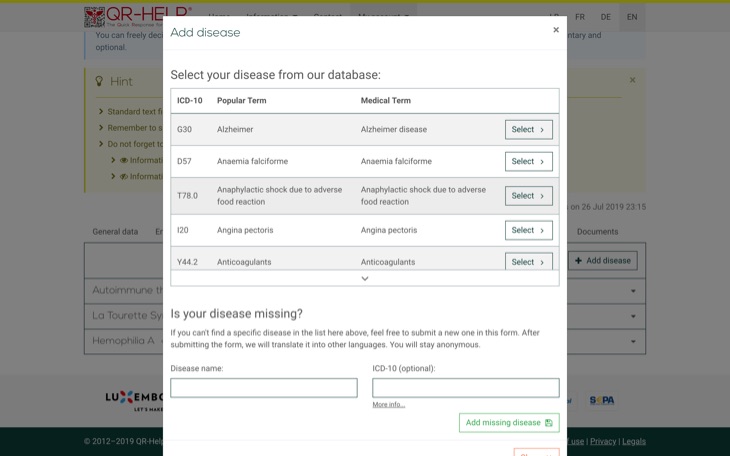
All topics, with the exception of the general data, have the same structure. When you open the page tab, you can see at a glance which diseases, allergies etc. you have already added. These are displayed as fold-out cards. If you want to create a new entry, click on the Add button. A window will open in which you can select one from existing diseases in the system. If your illness is not listed, you can also complete the list. After the selection, another window opens, here you can now enter details about your personal illness course.
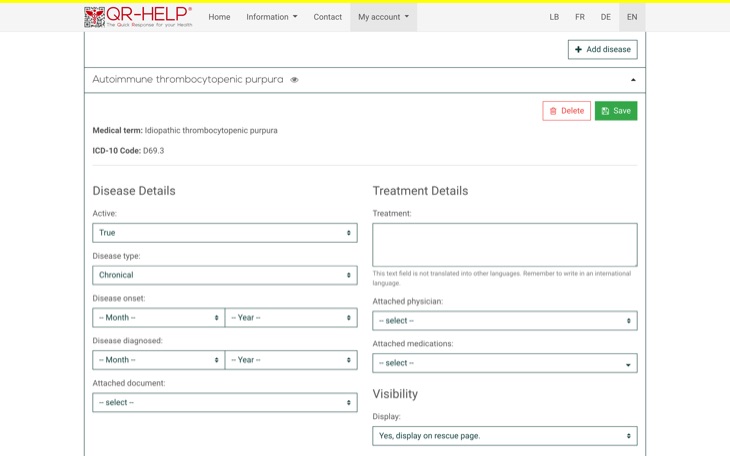
Updating the data is very easy. You just have to expand the field of the entry to be edited. Now you see the same input fields that you filled in when creating the entry. You can change the entries as you like. In order for your changes to be taken over, do not forget to press the save button. A message confirms the successful saving of your data. For each entry, you can choose whether it should be displayed on your rescue page. So you can freely decide which entries are displayed and which are not. If—for whatever reason—you want to temporarily remove an entry from the rescue page, you do not have to delete it. This saves you the laborious re-creation of the entry.
In case of an emergency
We wholeheartedly wish that the following section will never apply to you. If this wish does not come true, be sure that you can receive the best possible help.
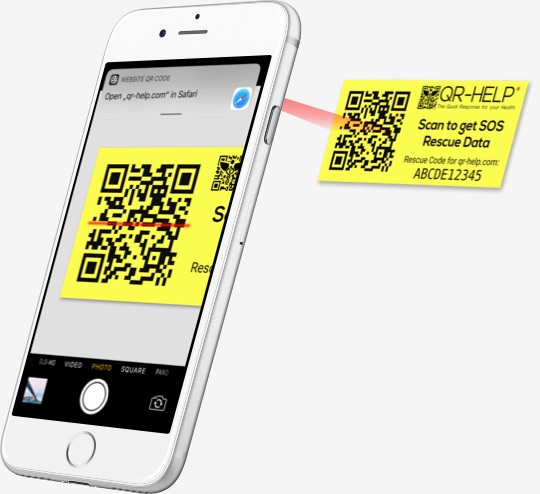
After registering with QR-Help, you will receive a package with highly resistant and strongly adhesive labels. These are UV, heat and chemical resistant and also friction cannot harm them. Stick these labels on personal items such as your identity card, driver's license or the health insurance card. Paramedics will look for these documents to collect your personal details and find your QR code. The QR code can be read with any smartphone, provided it has a QR code reader app and internet access. Both requirements are fulfilled by almost all modern devices. Only a few moments after scanning, all your data will appear on a minimalistic page. The paramedics can thus receive bundled information about your state of health and do not waste time. You can be treated optimally right away.
To scan the QR code, a smartphone with an open QR code reader app must be held over the QR code. The camera reads the QR code automatically and the app asks for permission to open the website. After confirmation, the rescue page opens in no time. If the QR code cannot be read, the alphanumeric code, which can be seen in the lower right corner of the label, can be entered on any public page of QR-Help.
What does the Rescue page look like?
Look at the short video to see the process of scanning the QR code of a patient and receiving his or her emergency data on your phone.
You can also click on the button below to open a real rescue page of a demo account and scroll through the given data. You will notice, that the data is sorted by relevance of the category. This hierarchy was worked out in cooperation with active paramedics. You can also scan the label displayed on the screen of the phone with your QR code reader. This will give you the total experience of QR-Help.
Open the demo rescue page